Creating a GitHub and Adding Projects
Creating a GitHub Account
Go to github.com on your web browser. If you do not already have a GitHub account you can click the “Sign Up” button and create an account for free. If you do already have an account, you can “Sign In”

Creating a Repository
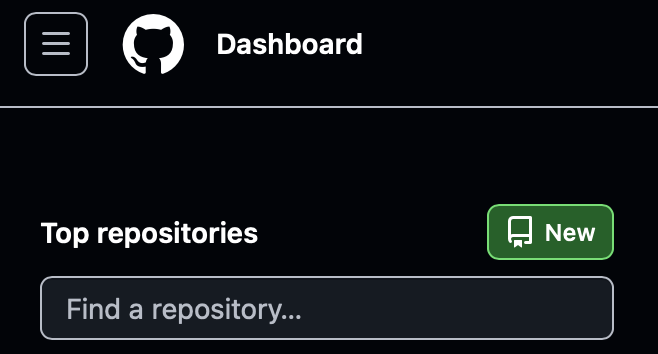
Once you have created an account log in. You should see the GitHub homepage. On the left side of the screen is a green button labeled “New”. This button will take you to the page to create a new repository within GitHub.

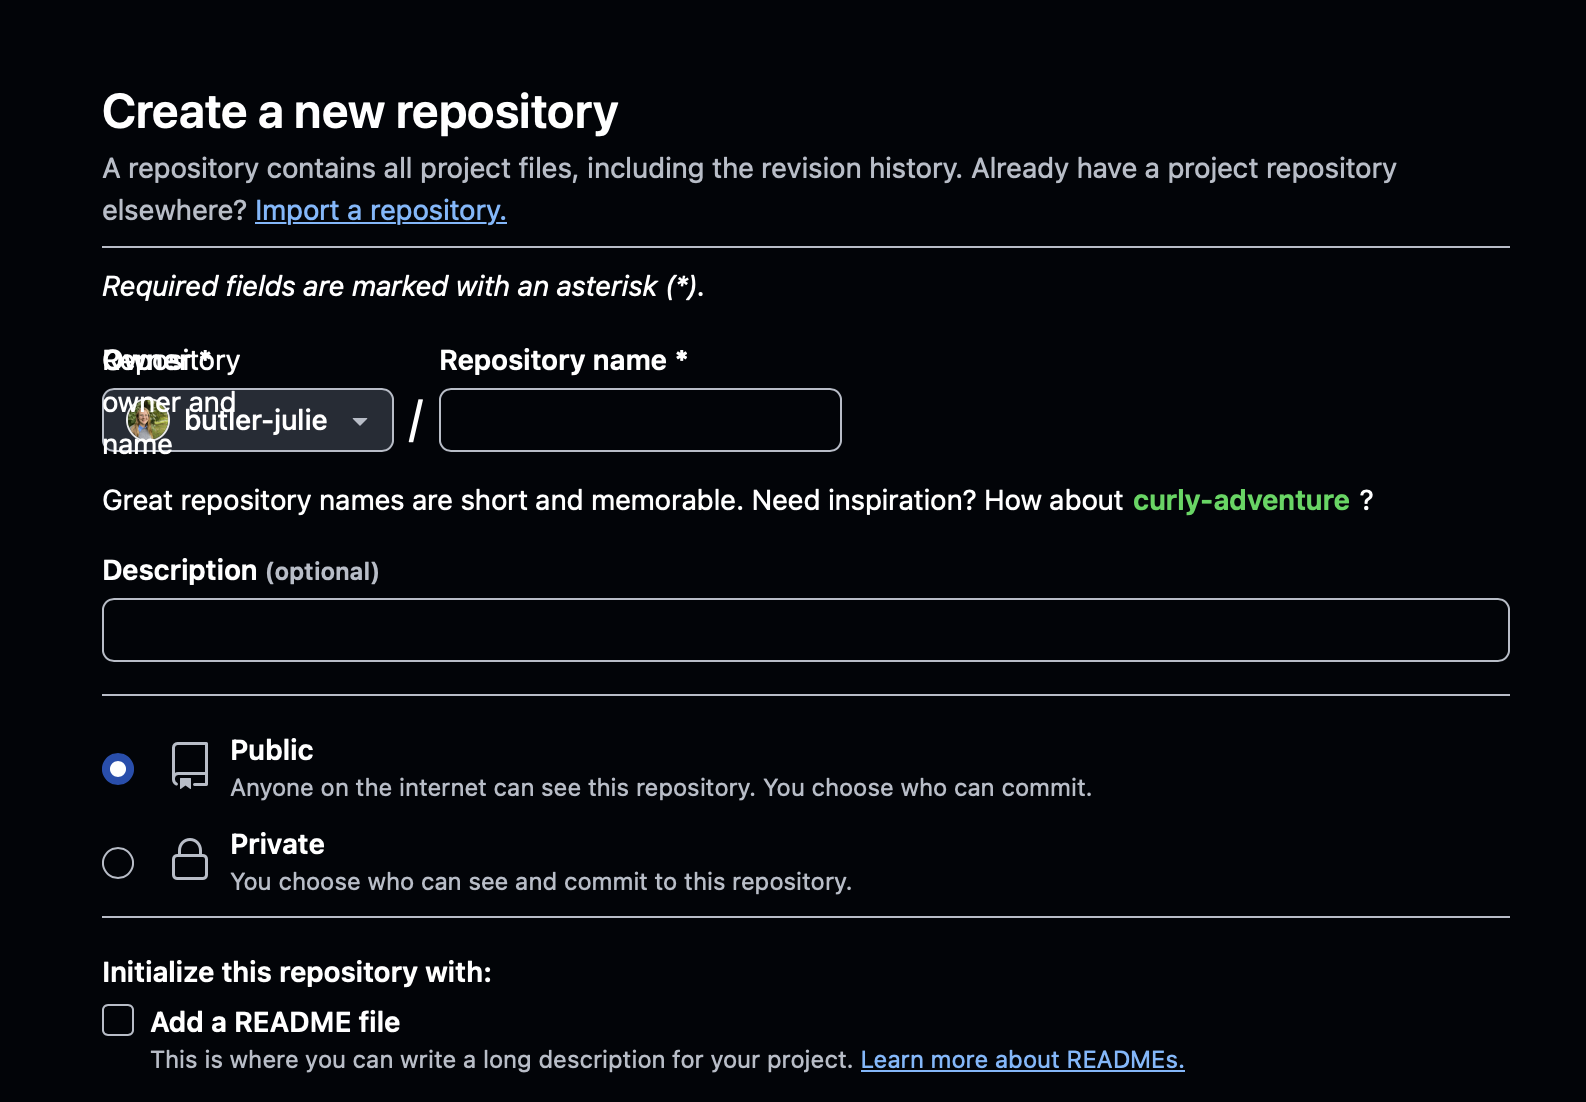
A repository (or a repo for short) is like a folder which let’s you store and share your code along with files explaining what your code does and how it works. Once you click on the “New” button to create a new Repo, you will be taken to a form to select the options you want.

On this form, name your GitHub repo something which describes what it contains. You can optionally add a sentence in the “Description” box to further explain the contents of the repo. Make sure you select “Public” for the visibility and check the box next to “Add README”. Now click the “Create Repository” button at the bottom of the page.
Adding Files to the Repository

When you create the repo initially, it will be empty. You can add files to the repo using the “Add File” dropdown on the right side of the page and then selecting “Upload files”. You will then be prompted to select the files you want to add to the repository through your file explorer. Make sure you all all relevant files to the repository, including Jupyter notebooks and code files.
Editing the README File
Displayed on the homepage of your repository is the README file. Every GitHub repo on the site should have a README. The purpose of the README is to tell people viewing your code what the code does (what problem are you trying to solve) and how to use the code if they want to test it out (i.e. give them instructions on what to do with the code once it is downloaded). You can edit the README file using the pencil icon on the right side of the screen.
