Python and Jupyter Installation Instructions
Windows
If you have never used Python on your Windows computer before, follows these instructions to get going. If you run into any problems, come by office hours or schedule an appointment and I can help you!
First you need to open the Command Prompt. On Windows 11 you can just type Command Prompt in the search bar on the task bar. If you have an older version of Windows, there is a search bar on the menu when you click on the Windows icon.
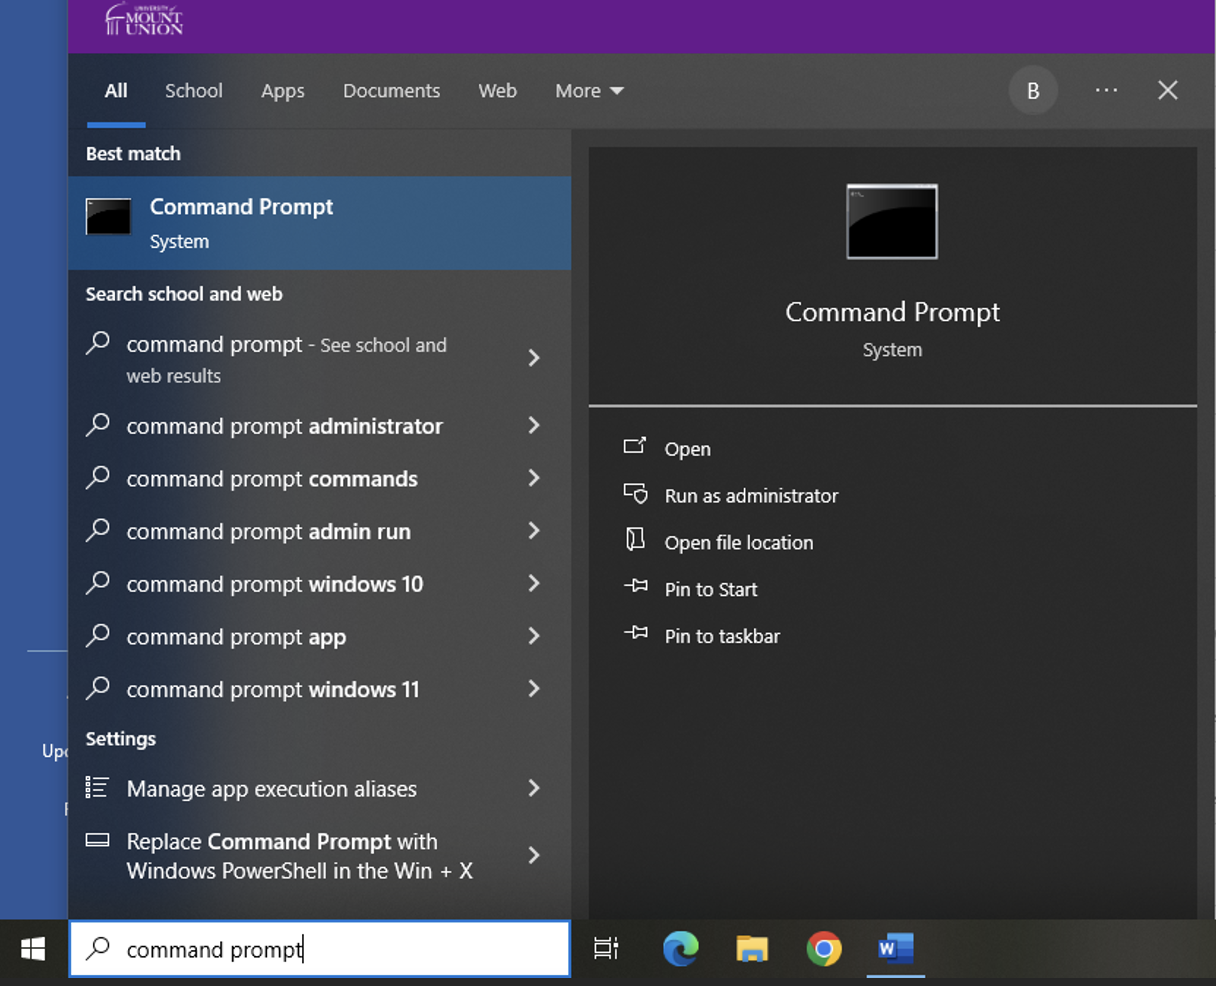
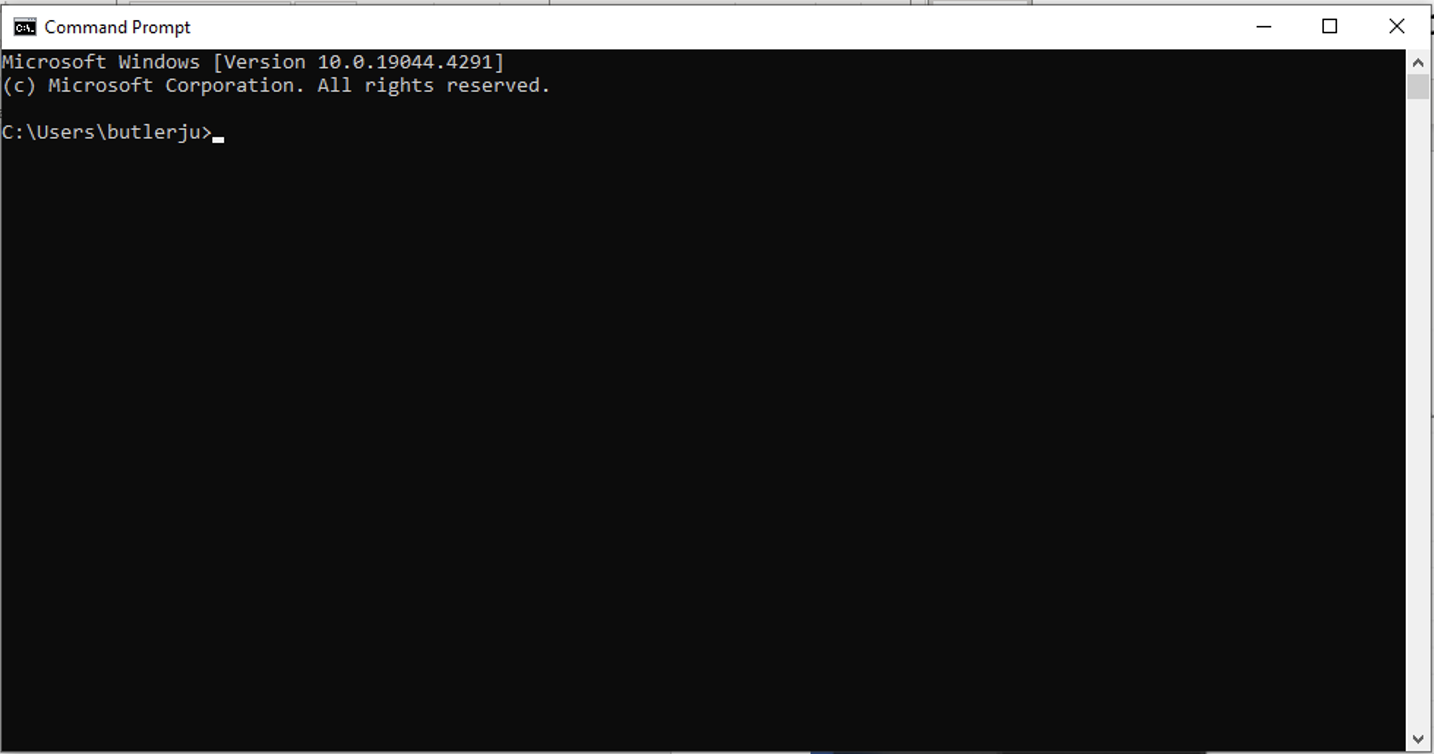
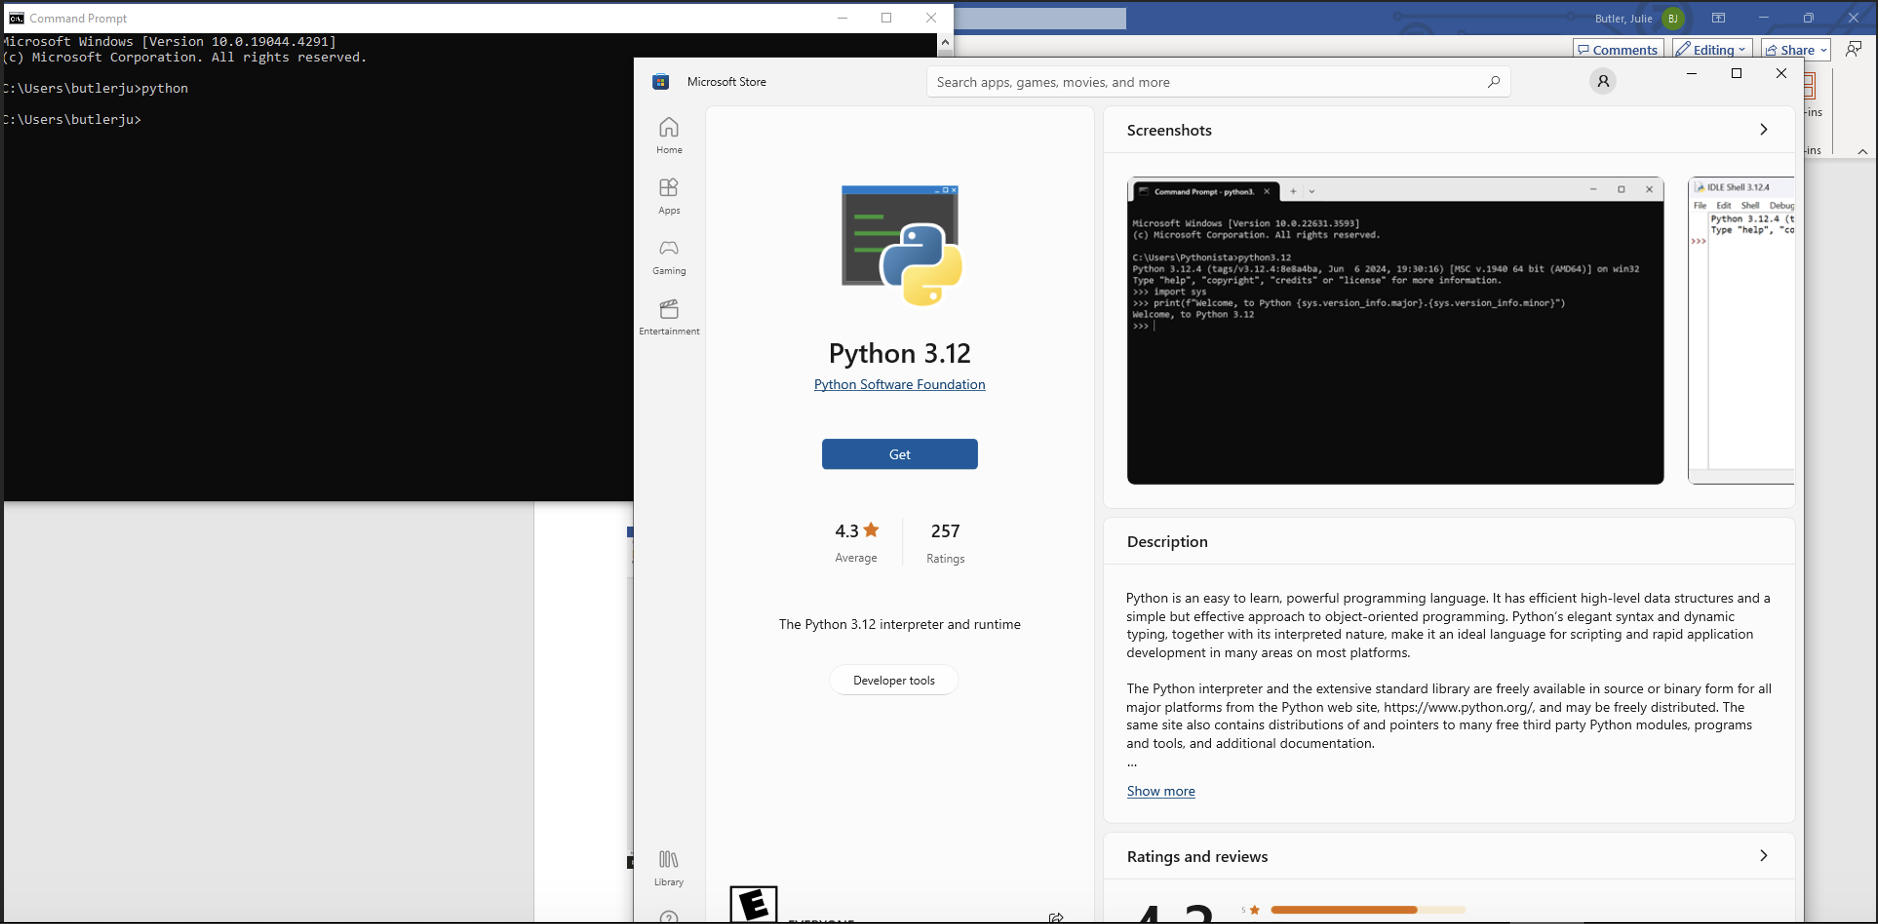
Clicking on the Command Prompt will open a black window with white text. This is the Windows Command Prompt that we can use to install Python. If you do not have Python installed, when you type python in the Command Prompt, a Windows Store window will open asking you to install Python 3.12 (or the latest version avaliable when you are doing this). Click on “Get” to have Python installed on your computer.
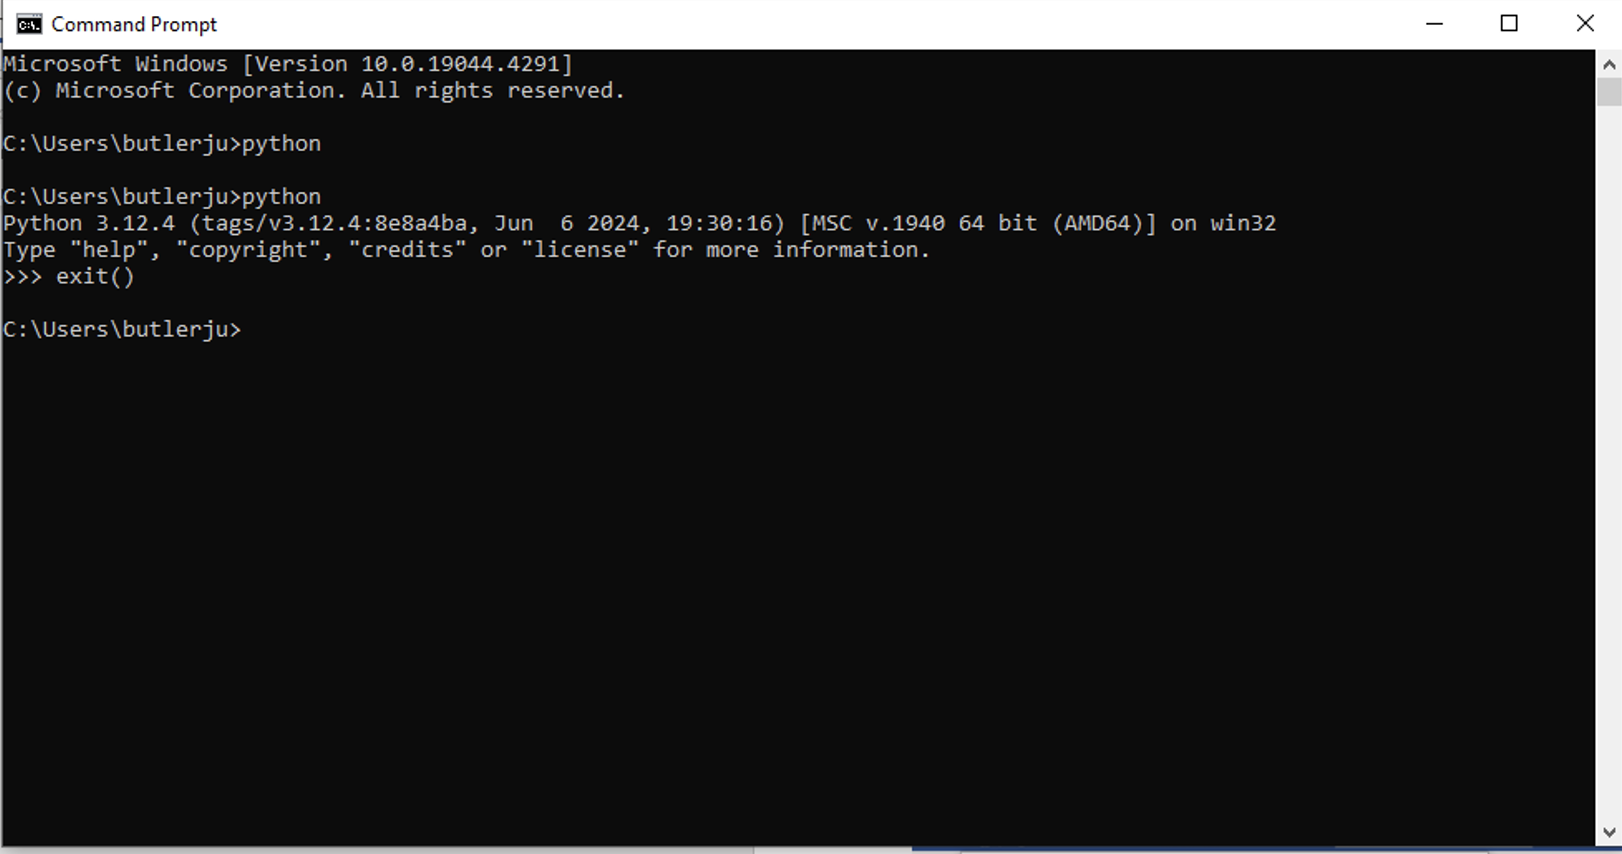
After the installation has finished, you should be able to type python in the command prompt again and get a window which looks like this.
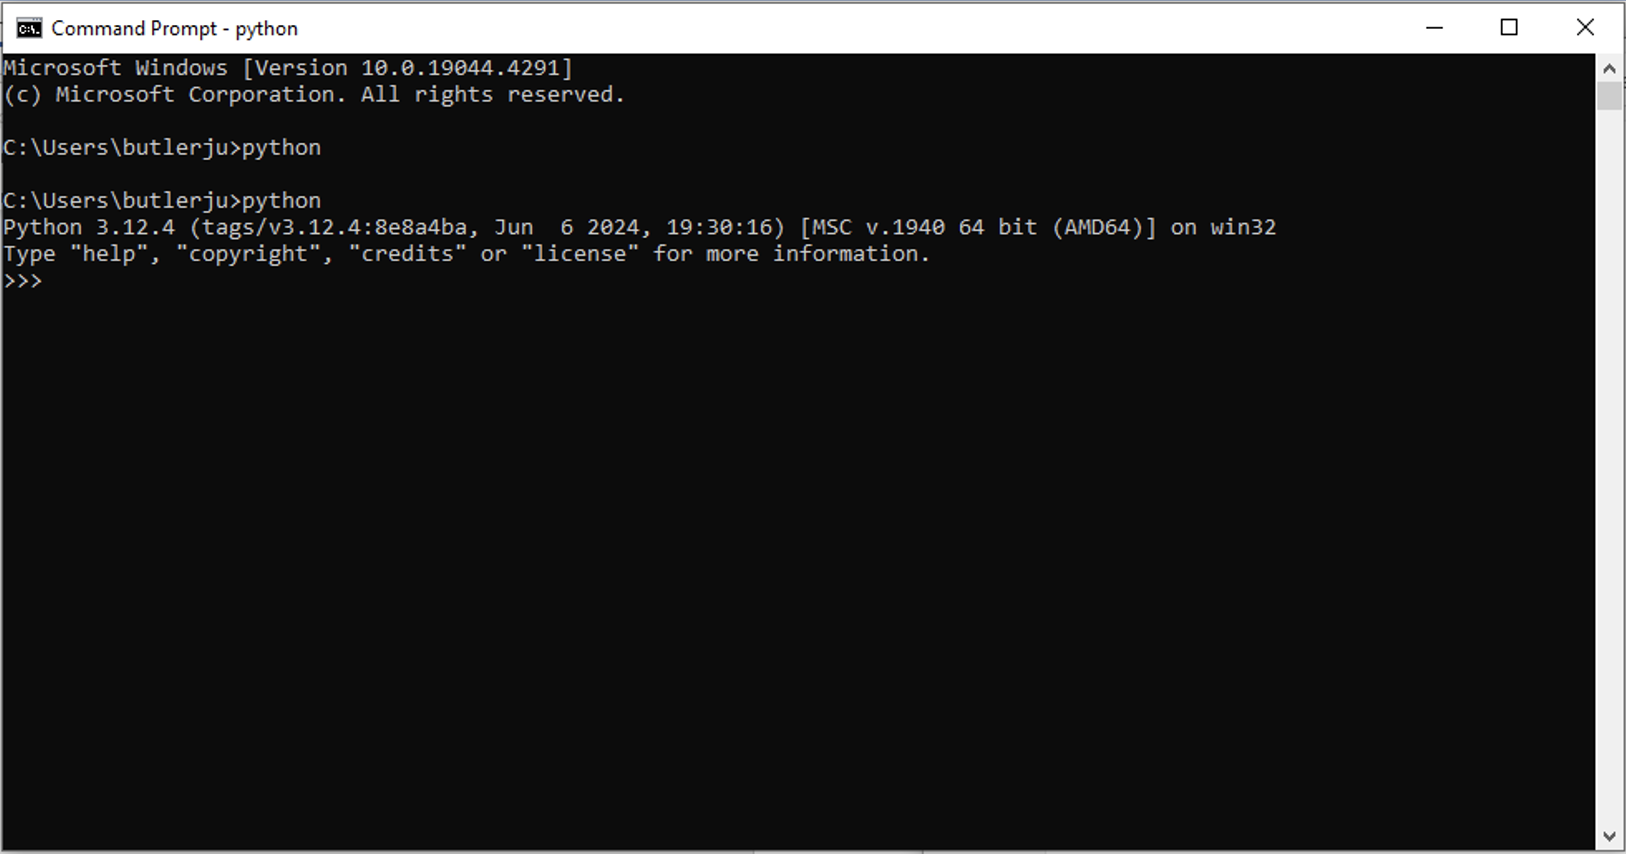
You can run Python programs from this prompt, but it is not as easy as some other methods. We will install Jupyter notebooks next, which will make writing and running Python code much easier. First, type exit() into the python prompt to exit and return to the normal command prompt.
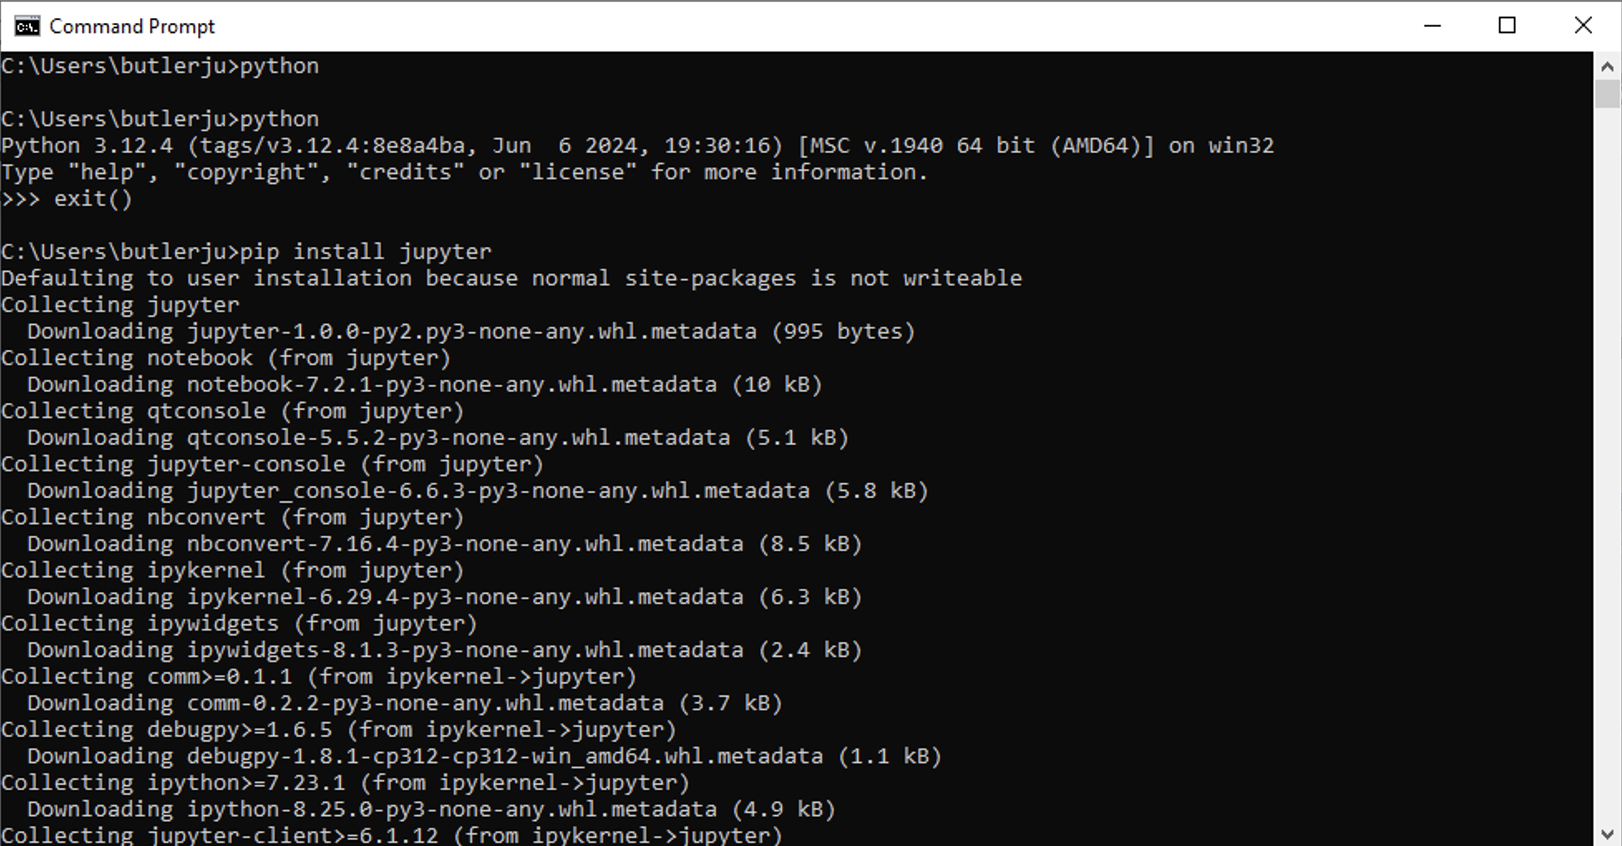
We can install Jupyter Notebooks by typing pip install jupyter in the command prompt. You will get a lot of text. but as long as you don’t see any large sections of red text, it likely has installed correctly.
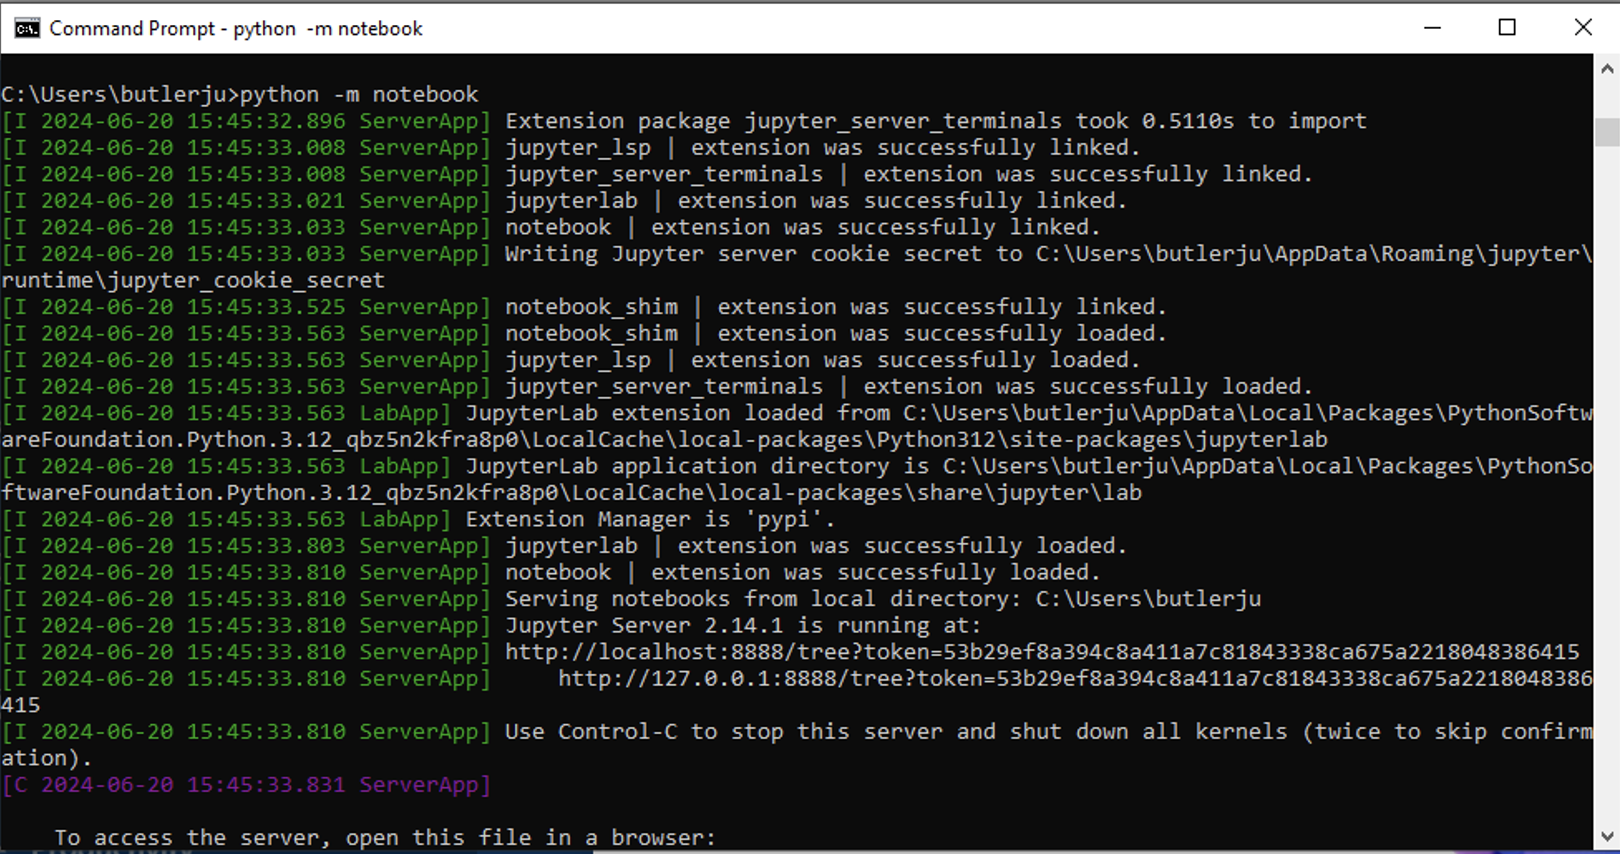
Now you can type python -m notebook in the command prompt to start Jupyter notebooks.
Finally, you will have the following window open in your default internet browser. This means that Jupyter notebooks has installed correctly. We will learn how to use this window when we start our Python unit.

Whenever you want to use Jupyter notebooks in the future, simply open the command prompt and type python -m notebook and the Jupyter window will open.
Mac
On a Mac, start by opening “Applications” in the “Finder” window. Scroll to the bottom and find the “Utilities” folder.
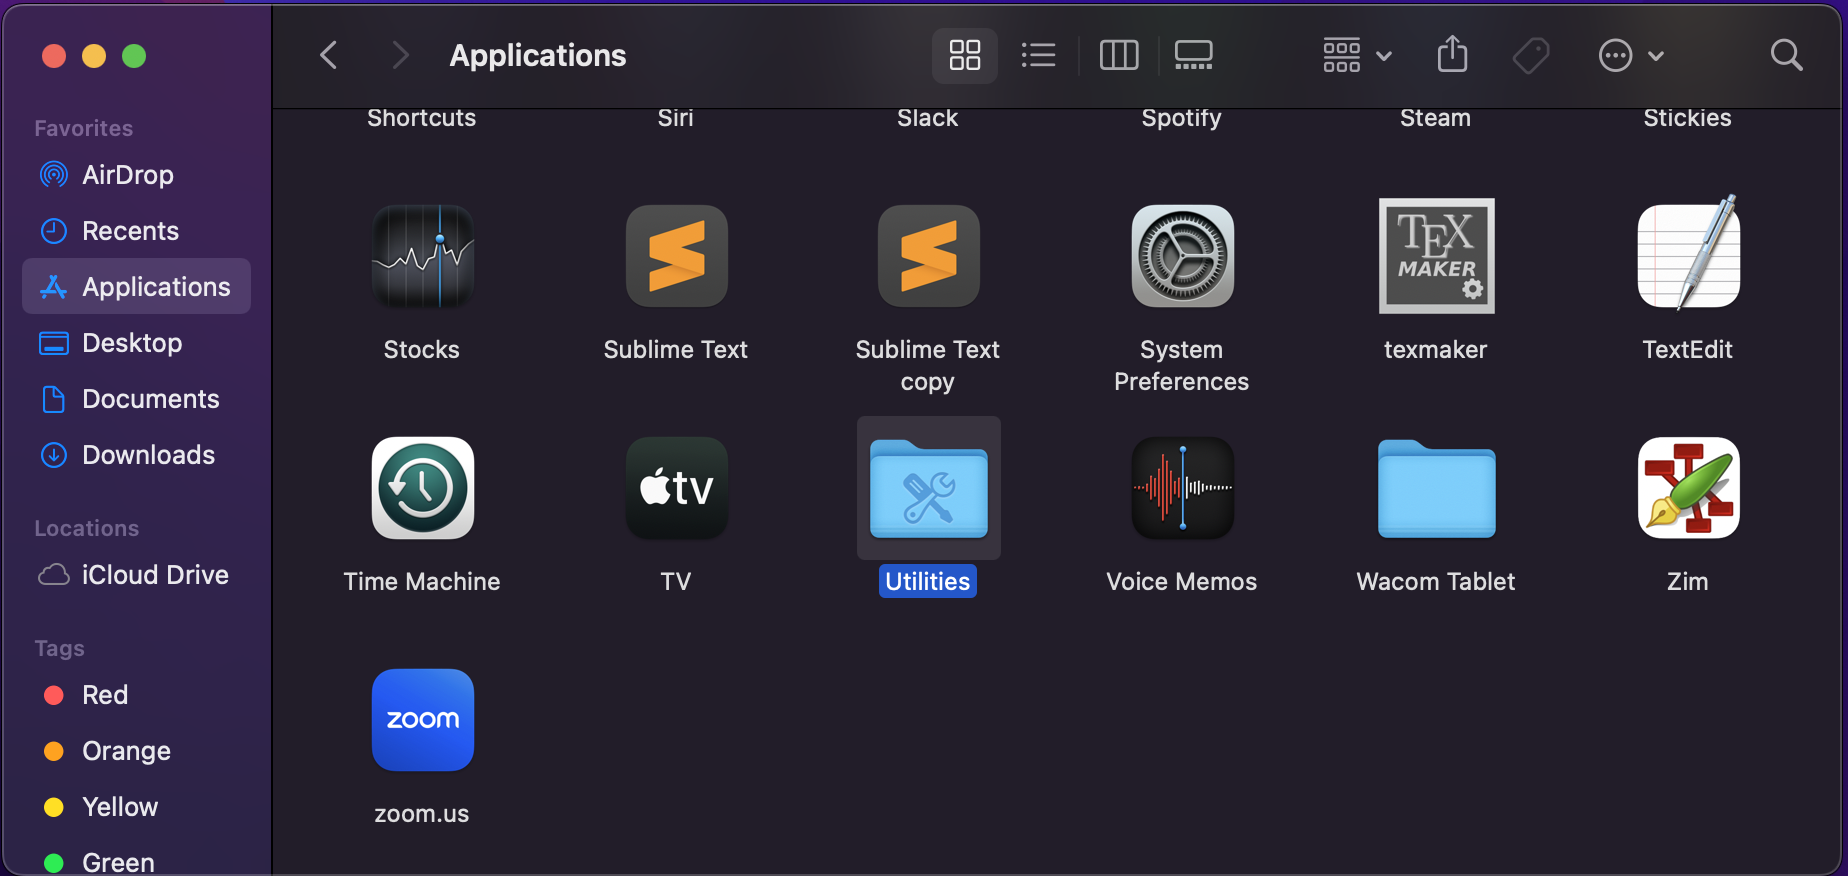
Inside the “Utilities” folder is an application called “Terminal”. Double-click this application to open it.
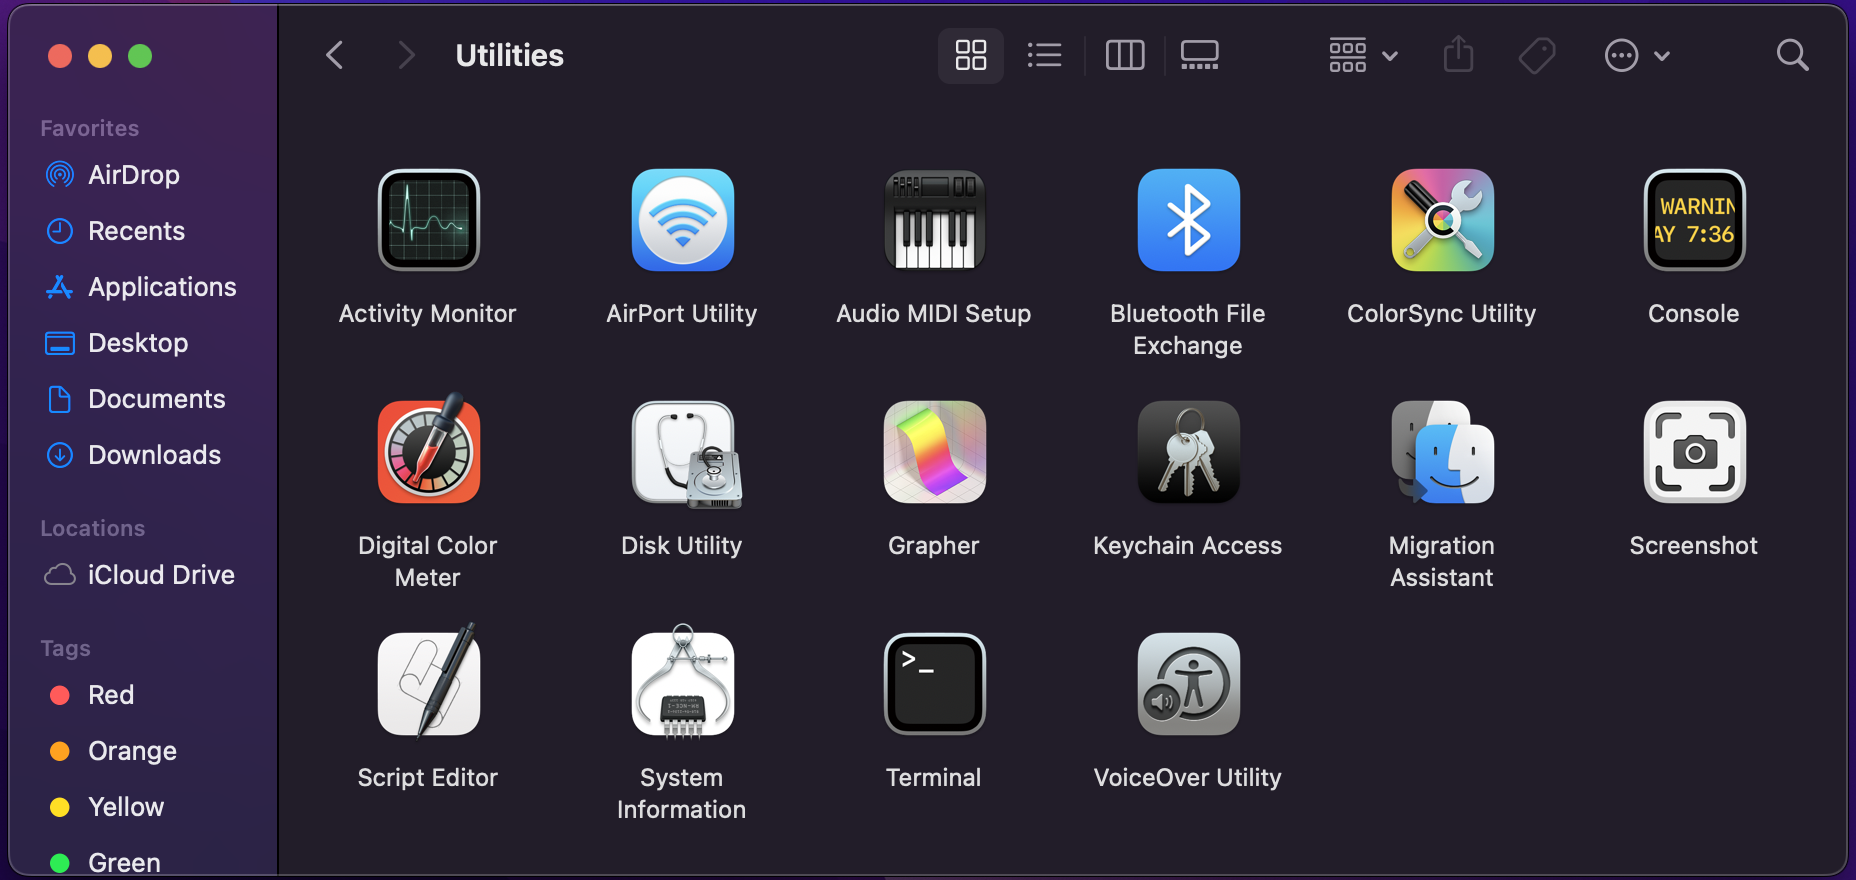
This application will open a small black window with white text called a terminal. We will use this terminal to get your Python environment set up.

In this terminal, type python3. If you get a pop-up window asking you to install “developer tools”, the click OK. You may also just have Python installed and this command will open the following Python terminal.
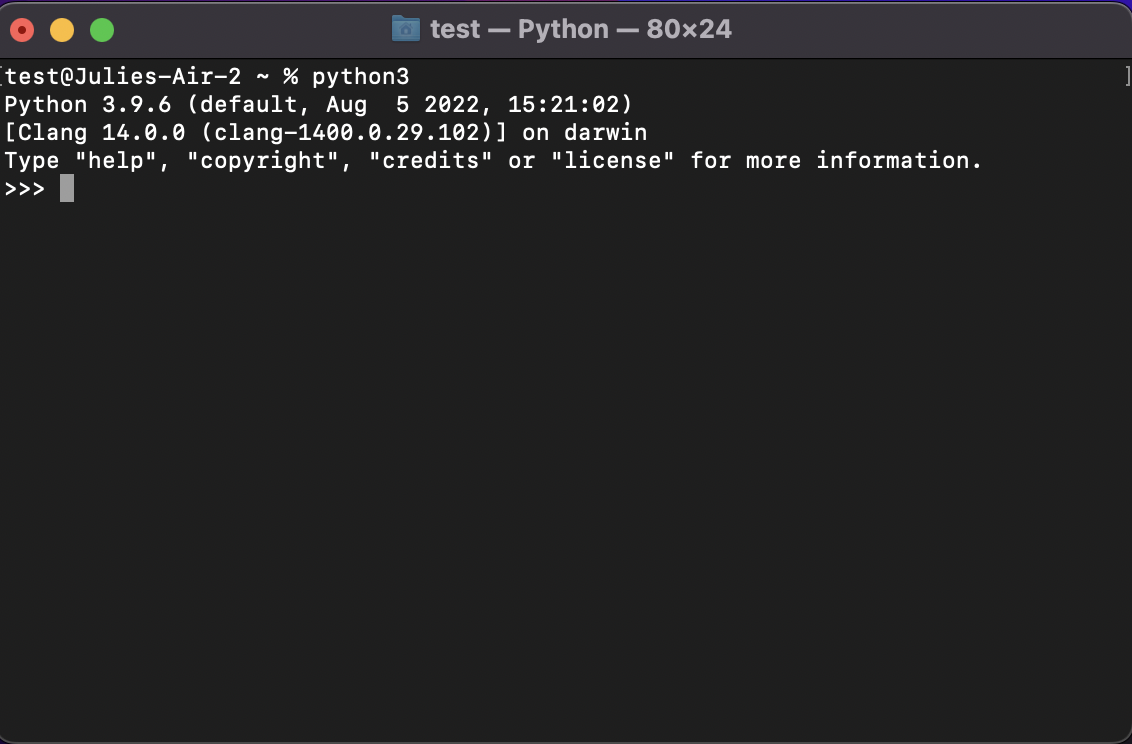
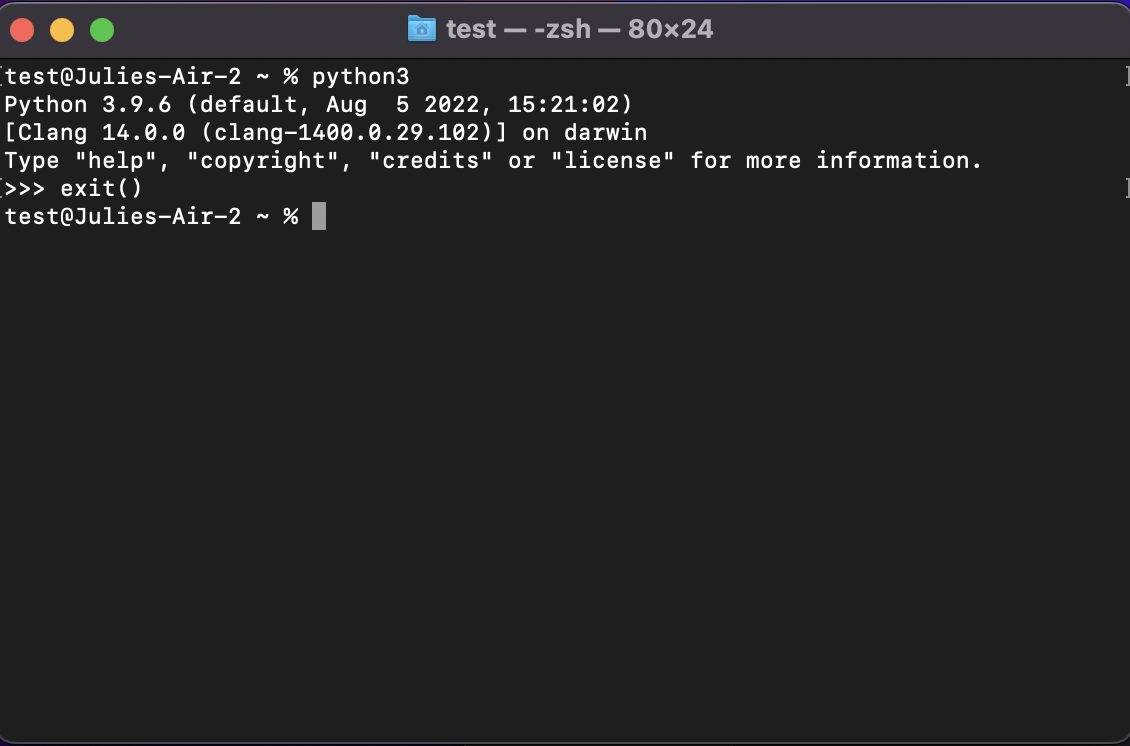
You can run Python programs from this prompt, but it is not as easy as some other methods. We will install Jupyter notebooks next, which will make writing and running Python code much easier. First, type exit() into the python prompt to exit and return to the normal command prompt.
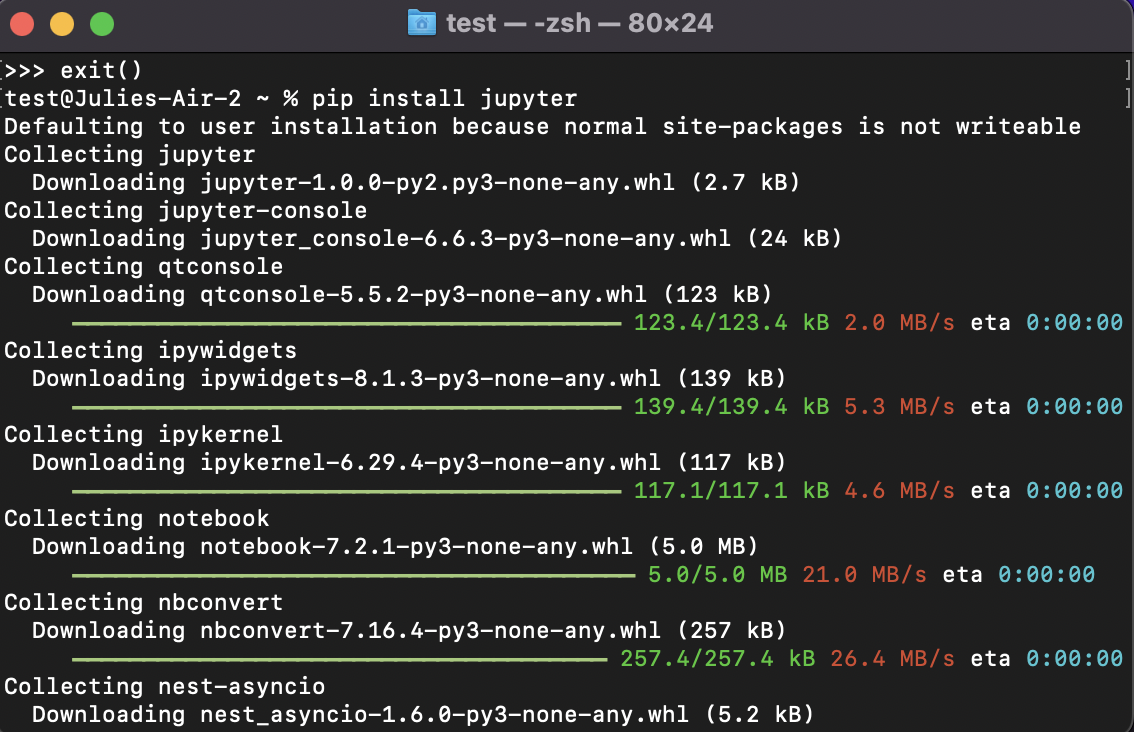
We can install Jupyter Notebooks by typing pip install jupyter in the command prompt. You will get a lot of text. but as long as you don’t see any large sections of red text, it likely has installed correctly.
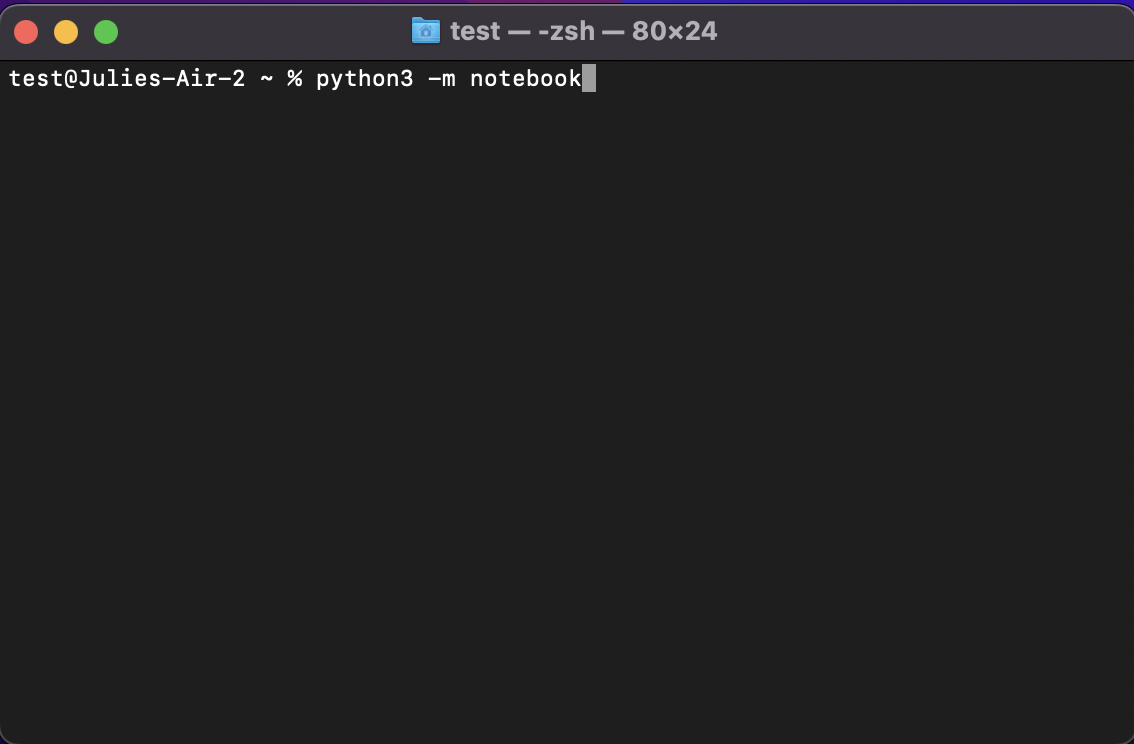
Now you can type python3 -m notebook in the terminal to start Jupyter notebooks.
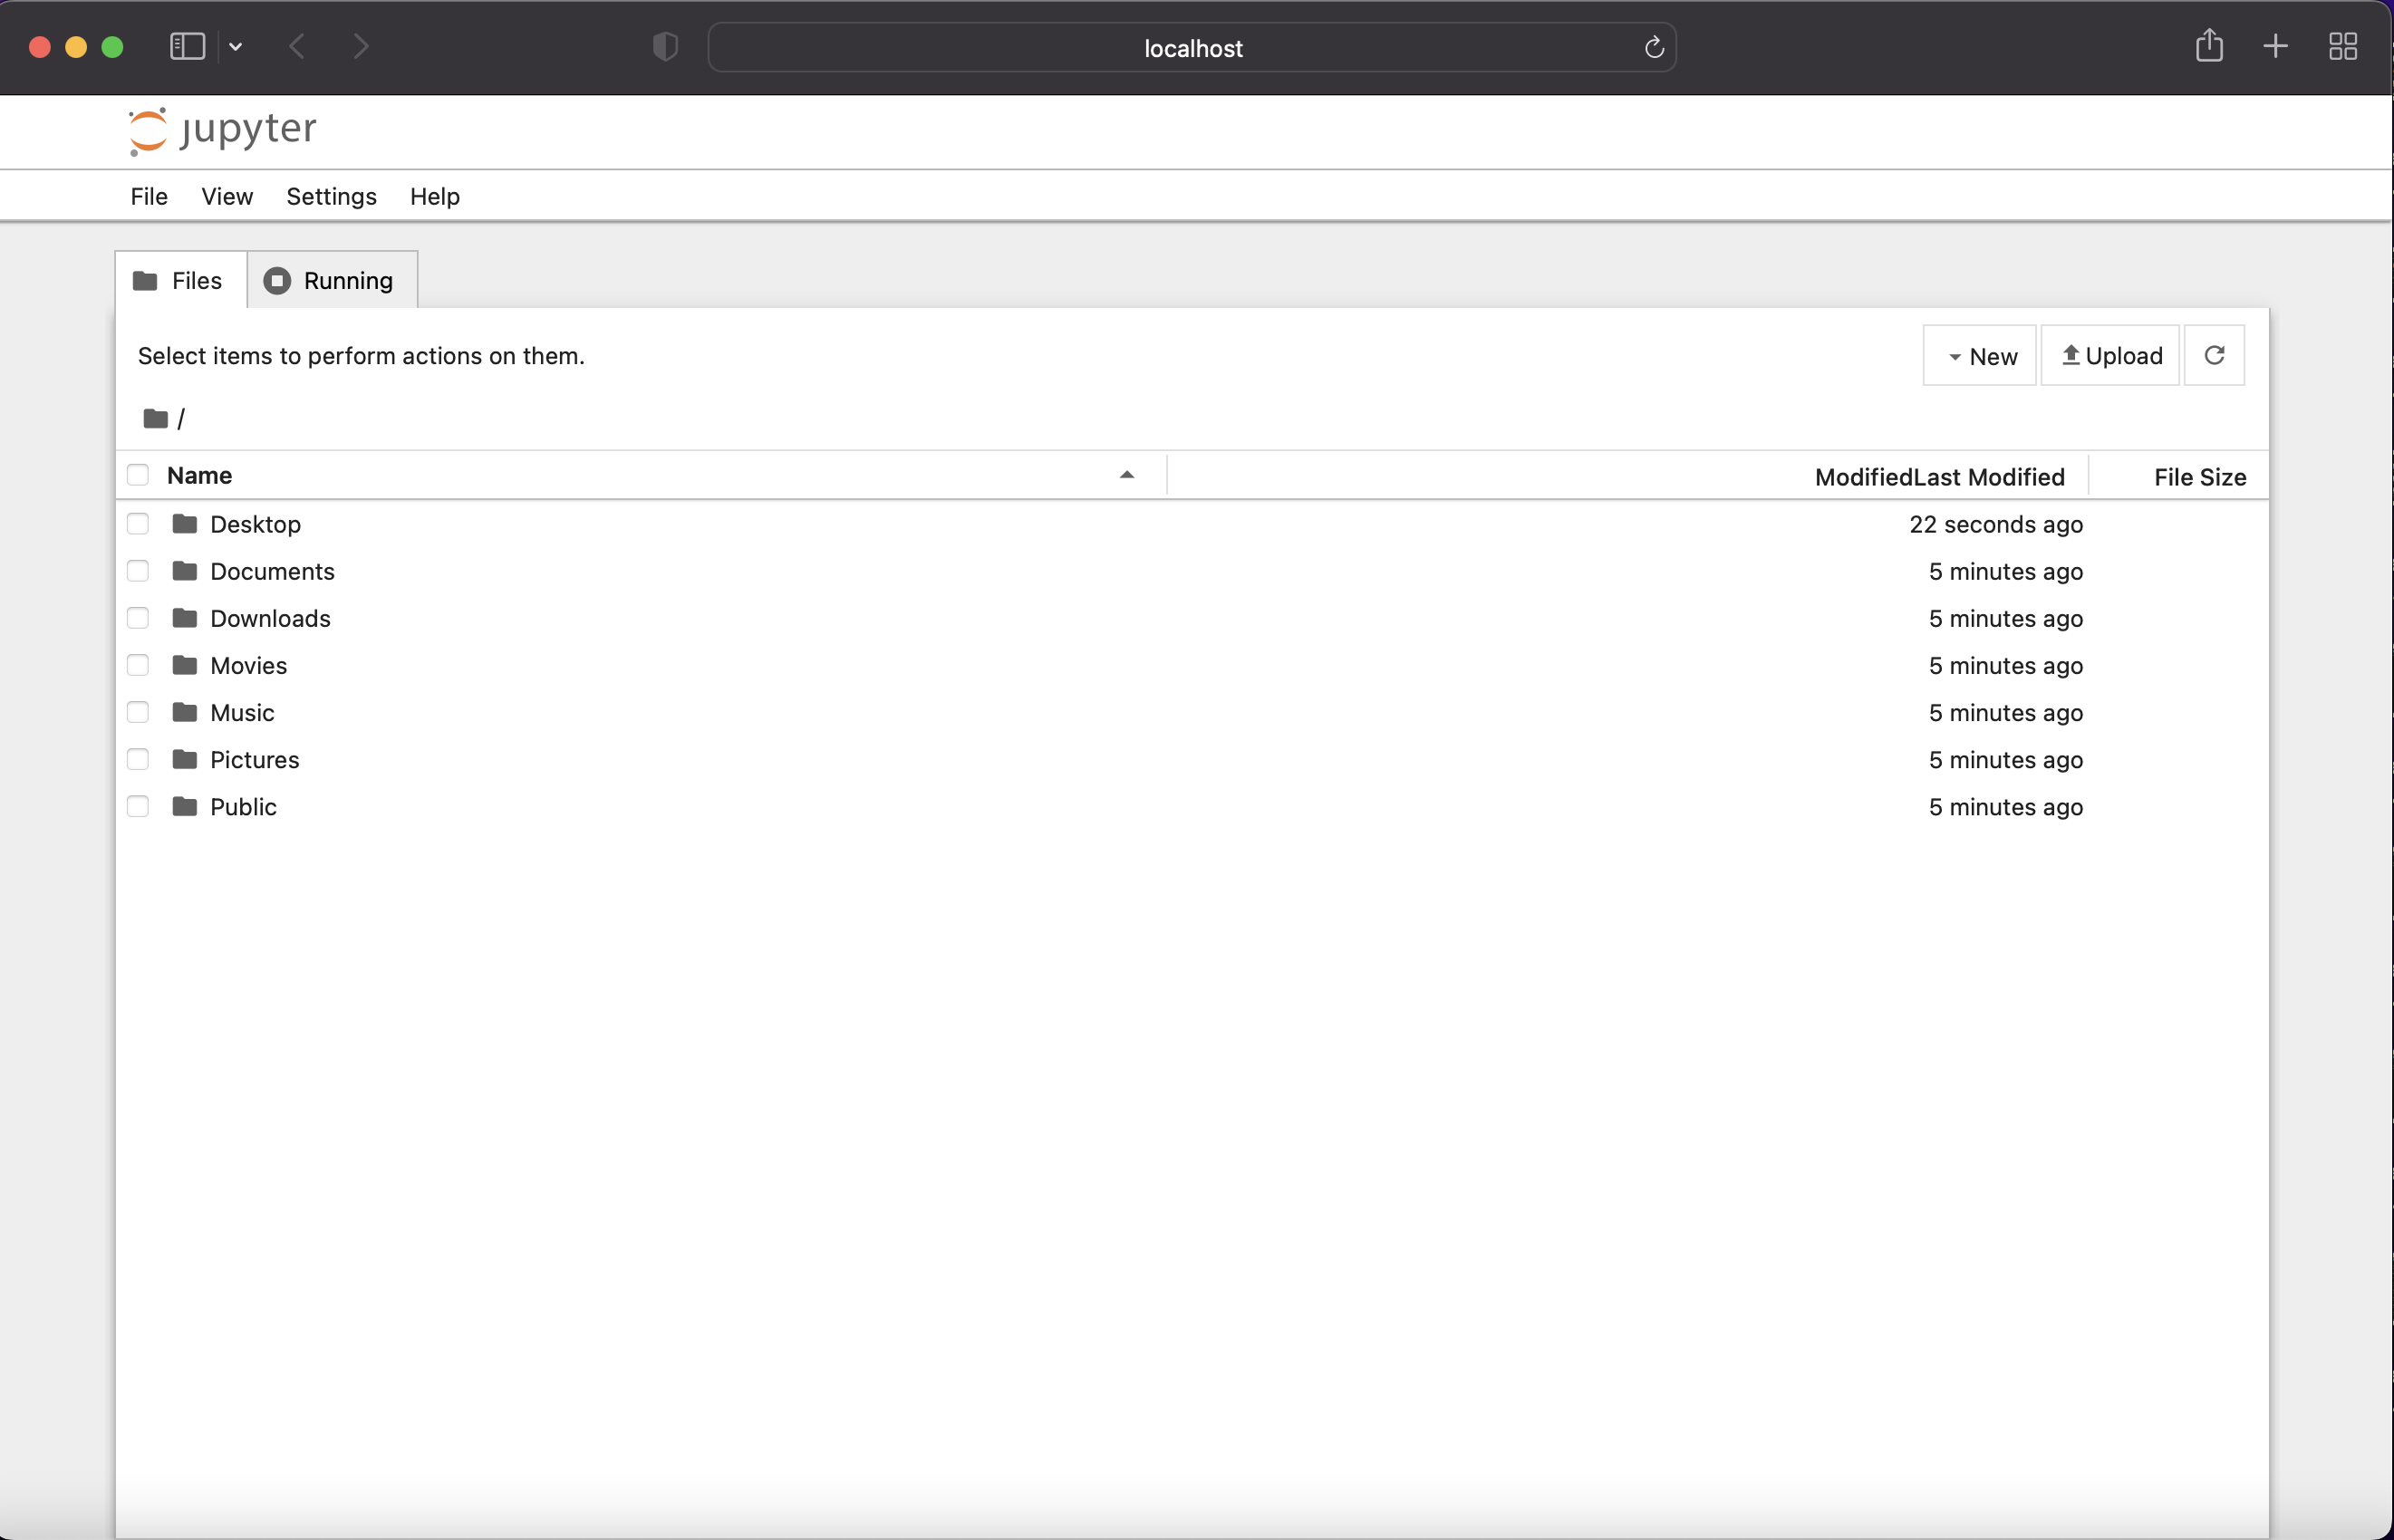
Finally, you will have the following window open in your default internet browser. This means that Jupyter notebooks has installed correctly. We will learn how to use this window when we start our Python unit.
Whenever you want to use Jupyter notebooks in the future, simply open the terminal and type python3 -m notebook and the Jupyter window will open.